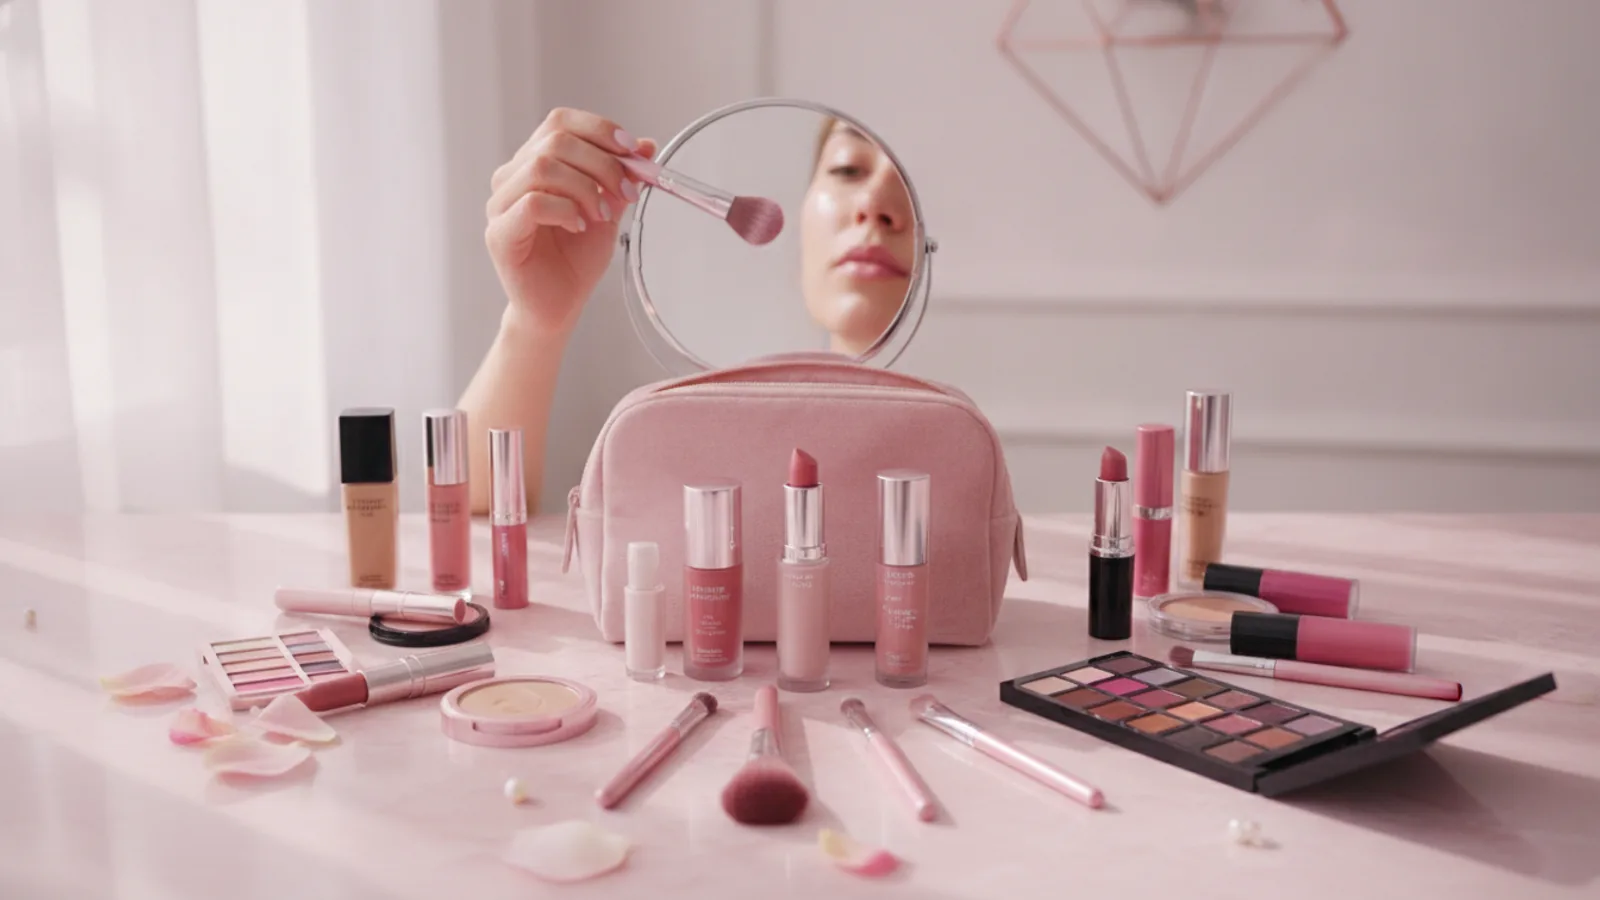
Makeup Vanity With Lights
A practical step-by-step guide to makeup vanity with lights, including preparation, instructions, common issues, tips, and next steps.

Makeup Vanity With Lights
Crafting your perfect makeup routine starts with the right setup, and a makeup vanity with lights is at the heart of it all. This guide walks you through everything from selecting the ideal vanity and lighting to ensuring your space is beautifully organised and perfectly lit. Whether you're upgrading an existing setup or starting from scratch, you'll learn how to create a flawless, shadow-free environment that makes applying makeup a joy, ensuring you always look your best before stepping out.
Fast Answer
- Ideal Light Temperature: Daylight (5000K-6000K)
- Key Lighting Feature: High Colour Rendering Index (CRI 90+)
- Best Placement: Even, shadow-free illumination around the mirror
Before You Start
Before you dive into creating your dream makeup station, a little preparation goes a long way. Gathering your essentials and understanding the nuances of lighting will set you up for success, ensuring your vanity with lights truly enhances your beauty routine.
- A Makeup Vanity Table: Decide if you prefer a vanity with built-in lights or one where you'll add lights separately. Consider its size, storage, and material to match your space and style.
- A Suitable Mirror: If your chosen vanity doesn't have an integrated mirror, select one that's large enough for you to see your face and upper body clearly while seated. Ensure it's sturdy and can be securely mounted or placed.
- Lighting Solution: This is crucial. Options include LED strip lights, individual Hollywood-style LED bulbs, or a dedicated ring light. Prioritise lights with a "daylight white" colour temperature (5000K-6000K) and a high Colour Rendering Index (CRI of 90 or above) to accurately reflect makeup colours. Dimmable options are a bonus for versatility.
- Power Source & Extension Lead: Check the number and location of available electrical sockets. You might need a multi-socket extension lead with surge protection to power your lights and any other tools like a hairdryer or curling wand.
- Basic Assembly Tools: Typically, a screwdriver set (Phillips and flathead), a measuring tape, and possibly a spirit level will be needed for vanity assembly and light installation.
- Cleaning Supplies: Microfibre cloths, glass cleaner, and general surface cleaner will help you prepare your space and keep it pristine.
- Comfortable Seating: A good vanity chair or stool, ideally adjustable, is essential for comfort during your routine.
- Makeup Storage Solutions: Consider drawer organisers, clear acrylic containers, brush holders, and small trays to keep your products tidy and accessible.
Step-by-Step Instructions
1. Plan Your Space and Choose Your Vanity
The first step is to envision your ideal makeup area. Start by measuring the space where you intend to place your vanity. Consider how much room you have for the table itself, your chair, and any movement around it. Think about the existing natural light in the room; while your vanity lights will be primary, natural light still plays a role.
Next, choose your vanity table. Do you prefer a sleek, modern design or something more classic? Consider the storage capacity – how many drawers or compartments do you need for your makeup and tools? Decide if you want a vanity that comes with integrated lights and a mirror, which simplifies the setup, or if you prefer a separate table and will add your own mirror and lighting solution. Opting for a separate table allows for more customisation in terms of light type and mirror style.
2. Assemble Your Vanity Table Securely
Once your vanity table arrives, carefully unpack all components and review the manufacturer's assembly instructions. Follow them precisely, taking your time to ensure every screw and fitting is correctly placed and tightened. A stable vanity is crucial for holding your mirror, lights, and precious makeup collection safely.
It's often a good idea to assemble the vanity on a soft, clean surface like a rug or blanket to prevent scratches to the finish. Enlist a friend for help if the table is large or complex to assemble, as extra hands can make the process much smoother and safer. Double-check all connections once assembled to confirm the table is sturdy and level.
3. Choose and Install Your Mirror
If your vanity didn't come with a built-in mirror, this step is vital. Select a mirror that is proportional to your vanity table and offers a clear, unobstructed view of your face. For makeup application, a mirror that shows at least your face and neck is ideal, but a larger one can provide an even better perspective.
Decide whether you want a freestanding mirror that simply sits on your vanity, or a wall-mounted mirror. If wall-mounting, measure carefully to ensure it's at the correct height when you are seated. Use appropriate wall fixings for the mirror's weight and your wall type (e.g., plasterboard anchors or solid wall plugs). Ensure it's securely fastened and level before proceeding to lighting.
4. Select the Right Lighting Solution
This is arguably the most important decision for your makeup vanity. The goal is to achieve even, shadow-free illumination that accurately represents colours. There are several popular options for adding lights to your mirror:
- LED Strip Lights: These flexible strips can be cut to size and adhered directly around the perimeter of your mirror. They provide a continuous, even glow. Look for strips with a high LED density for uniform light.
- Hollywood-Style LED Bulbs: These individual bulbs screw into sockets attached to your mirror frame, mimicking professional dressing room setups. They are excellent for providing bright, direct light.
- Ring Lights: A standalone ring light can be placed on your vanity or mounted on a tripod. While excellent for filming or detailed work, they might not provide overall even lighting for the entire vanity space on their own.
Crucially, focus on the light specifications: aim for a colour temperature between 5000K and 6000K (often labelled "daylight white") and a Colour Rendering Index (CRI) of 90 or higher. CRI measures how accurately a light source reveals the true colours of objects compared to natural light. A high CRI is essential to ensure your makeup colours look the same in your vanity mirror as they will in natural daylight.
5. Install Your Chosen Lighting System
Now it's time to bring light to your vanity! The installation process will vary slightly depending on your chosen lighting solution.
- For LED Strip Lights:
- First, clean the surface around your mirror where the strips will be applied. Ensure it's dust-free and dry for optimal adhesion.
- Measure the perimeter of your mirror and cut the LED strip to the appropriate length at the designated cut marks.
- Carefully peel off the adhesive backing and firmly press the strip onto the mirror frame, working your way around. Use corner connectors if necessary for neat turns.
- Connect the strip to its power adapter and controller, usually via a small connector.
- For Hollywood-Style Bulbs:
- Most kits come with adhesive-backed bulb sockets or a frame with pre-drilled holes. Position these evenly around the mirror. Aim for spacing that provides uniform light without creating hotspots.
- Firmly attach the sockets or frame to your mirror.
- Screw in the LED bulbs, ensuring they are compatible with the socket type and wattage.
- Connect the wiring to the power supply, often with a simple plug-and-play system.
Always follow the specific instructions provided with your lighting kit. Ensure all connections are secure and that no wires are left dangling dangerously.
6. Position Your Vanity and Connect Power
With the vanity assembled and lights installed onto your mirror, it's time to position the entire setup in its final spot. Carefully move your vanity into place, ensuring it's stable and level. If your floor is uneven, you might need to use furniture pads or shims under the legs to prevent wobbling.
Once positioned, plug in your vanity lights to the nearest electrical socket. If you're using an extension lead, make sure it's placed discreetly and safely, away from any potential spills or tripping hazards. Use cable management solutions like cable sleeves or a cable box to keep cords organised and out of sight. This not only looks tidier but also reduces clutter and potential safety risks.
7. Organise Your Makeup and Tools
A beautiful vanity with perfect lighting deserves equally beautiful organisation. This step is about making your beauty routine efficient and enjoyable. Begin by decluttering any old or unused makeup products. Sort your essentials by category: face products, eye makeup, lip products, brushes, and tools.
Utilise the storage your vanity offers. For drawers, use dividers or small trays to keep items separated and easy to find. Clear acrylic organisers are fantastic for keeping frequently used products on the vanity surface without creating visual clutter. Dedicate specific spots for brushes, palettes, and skincare. The goal is to have everything visible and accessible, so you're not rummaging around every morning.
8. Test and Adjust Your Setup
The final, exciting step is to put your new vanity with lights to the test! Turn on your lights and sit down. Observe your reflection carefully. Do you see any harsh shadows under your chin, nose, or eyes? If so, you might need to adjust the positioning of individual bulbs or add more light sources for better distribution.
If your lights are dimmable, experiment with different brightness levels. Apply a full face of makeup under various settings – from soft morning light to brighter evening light – to ensure your application looks consistent. This hands-on test will help you fine-tune your lighting for optimal results. Ensure your chair is at the perfect height for comfortable application without hunching or straining.
Quick Reference
| Situation | Use this | Why |
|---|---|---|
| Makeup looks muddy or off-colour | Check light colour temperature (aim for 5000K-6000K daylight white with CRI 90+) | Warm or cool-toned lights distort true makeup colours, leading to inaccurate application that looks different in natural light. |
| Uneven shadows on face or under eyes | Add more lights or reposition existing ones for even illumination all around the mirror | Shadows hide details and make blending difficult, resulting in patchy or unbalanced makeup application. |
| Eyes feel strained or uncomfortable | Ensure lights are dimmable and adjust brightness as needed; consider softer diffusion | Lights that are too bright or too dim, or have a harsh glare, can cause eye fatigue and headaches during prolonged makeup sessions. |
| Vanity surface is cluttered | Implement drawer organisers, clear acrylic containers, or wall-mounted shelves | Effective organisation makes products easy to find, maintains a clean aesthetic, and prevents items from getting lost or damaged. |
Common Problems When You Makeup Vanity With Lights
Even with the best intentions, you might encounter a few hiccups when setting up your makeup vanity with lights. Don't worry, these are usually easily fixable! Here are some common issues and their practical solutions:
Problem: Harsh Shadows on Your Face
Description: You might notice prominent shadows under your chin, nose, or brows, making it difficult to blend makeup smoothly or see details accurately.
Fix: This usually means your light source isn't distributed evenly. The ideal setup involves light coming from multiple points around the mirror – typically from the top and sides. If you only have lights from above, try adding LED strips or individual bulbs along the sides of your mirror. For Hollywood-style bulbs, ensure they are spaced closely enough to create a continuous band of light rather than isolated spots. If using a single light source like a ring light, ensure it's positioned directly in front of you and bright enough to wash out shadows.
Problem: Makeup Colours Look Different in Natural Light
Description: You finish your makeup at your vanity, only to step outside and find your foundation looks too orange, or your blush appears too bright.
Fix: The culprit here is likely the colour temperature or Colour Rendering Index (CRI) of your vanity lights. Replace any bulbs or strips with "daylight white" LEDs, specifically those with a colour temperature between 5000K-6000K and a CRI of 90 or higher. Avoid standard warm yellow (around 2700K) or cool blue (above 6500K) lights, as they will distort how colours appear. High CRI lights accurately mimic natural daylight, giving you a true representation of your makeup.
Problem: Not Enough Brightness
Description: Despite having lights, your vanity area still feels too dim, making it hard to see fine details or apply intricate makeup.
Fix: Firstly, check the wattage or lumen output of your current lights. You might need to use higher wattage bulbs (if compatible with your fixtures) or add more light sources. For LED strips, consider a higher density per metre. Ensure your dimmers (if any) are set to maximum brightness when needed. Sometimes, painting the wall behind your vanity a lighter, reflective colour can also help bounce light around the space.
Problem: Cluttered Cables and Wires
Description: A tangle of wires from your lights, hair tools, and phone charger creates an untidy and potentially hazardous mess around your vanity.
Fix: Invest in good cable management. Use cable ties, cable sleeves, or adhesive clips to bundle and secure wires neatly along the back of the vanity or under the table. A small cable management box can hide power strips and excess cable length. If your vanity allows, you might even consider drilling small, discreet holes (with caution and planning) to route cables through the back of drawers or the table itself for a completely hidden look.
Problem: Vanity Table Wobbles
Description: Your vanity feels unstable, wobbling when you lean on it or open a drawer, which can be annoying and potentially unsafe for your products.
Fix: First, ensure all assembly screws and bolts are thoroughly tightened. Over time, these can loosen, so a quick check and tighten can often solve the issue. If the floor is uneven, use felt pads or shims under the vanity legs to level it. For persistent wobbling, check if the vanity is squarely placed against a wall; sometimes, anchoring it to the wall with anti-tip straps (often included with furniture for safety) can significantly improve stability.
Advanced Tips for Makeup Vanity With Lights
Once you've mastered the basics, there are plenty of ways to elevate your makeup vanity setup to a truly luxurious and highly functional space. These advanced tips focus on enhancing convenience, aesthetics, and precision.
Smart Lighting Integration
Take your lighting to the next level by incorporating smart bulbs or LED strips. These can be controlled via a smartphone app or voice commands, allowing you to:
- Adjust Colour Temperature: Precisely dial in the ideal "daylight white" or even switch to warmer tones for evening applications.
- Customise Brightness: Effortlessly change the intensity of your lights for different tasks or times of day.
- Set Schedules: Have your vanity lights turn on or off automatically.
Many smart lighting systems can also be integrated into broader smart home ecosystems for seamless control.
Add a Lighted Magnifying Mirror
For detailed tasks like eyeliner application, brow shaping, or identifying stray hairs, a dedicated lighted magnifying mirror is indispensable. Look for one with 5x, 7x, or 10x magnification. Ideally, choose a model that also offers daylight white lighting and is either freestanding or wall-mounted with an extendable arm for flexibility.
Integrate Ambient Mood Lighting
While bright, accurate lighting is essential for makeup, you might not always need it at full intensity. Consider adding softer, warmer ambient lighting around your vanity area. This could be a small decorative lamp, a string of fairy lights, or LED strips set to a warm glow. This creates a relaxing atmosphere for skincare routines or simply for enjoying your beautiful space when not applying makeup.
Invest in Ergonomic, Adjustable Seating
Your comfort is paramount. An adjustable vanity chair or stool allows you to find the perfect height for applying makeup without hunching or straining your back. Look for features like height adjustment, a comfortable backrest, and smooth-rolling castors (if desired). Good posture not only prevents discomfort but also helps you achieve better precision during application.
Optimise Storage with Custom Solutions
Go beyond basic drawer dividers. Consider custom-made drawer inserts tailored to your specific makeup collection. Tiered organisers, rotating carousels, or even small wall-mounted shelves above your vanity can maximise space and keep every item perfectly in its place. Clear containers are fantastic for visual access, while opaque boxes can hide less aesthetic items.
Incorporate Reflective Surfaces
To further enhance light and add a touch of glamour, incorporate reflective surfaces into your vanity setup. A glass top for your vanity table or a mirrored tray for displaying perfumes and high-end products will bounce light around, making the space feel brighter and more expansive. This also adds a luxurious, polished aesthetic that aligns perfectly with a beauty editorial theme.
Makeup Vanity With Lights FAQ
Here are answers to some frequently asked questions about setting up and optimising your makeup vanity with lights:
Q: What is the absolute best type of light for makeup application?
A: The consensus among beauty professionals is "daylight white" LED lights. Specifically, look for a colour temperature of 5000K-6000K and a Colour Rendering Index (CRI) of 90 or higher. This combination best mimics natural daylight, ensuring your makeup colours are true-to-life and will look consistent when you step outside.
Q: How many lights do I actually need around my mirror?
A: The exact number depends on the size of your mirror and the brightness of each individual light source. The goal is even, shadow-free illumination across your entire face. For Hollywood-style setups, generally 10 to 14 bulbs are sufficient for a standard-sized mirror, spaced to create a continuous band of light around the perimeter. For LED strips, ensure the strip runs completely around the mirror with no significant gaps.
Q: Is it really important for vanity lights to be dimmable?
A: Yes, dimmable lights offer significant flexibility and are highly recommended. They allow you to adjust the brightness to suit different times of day (e.g., lower brightness in the morning gloom, higher for evening makeup) or specific makeup tasks. Dimmable lights also help reduce eye strain during long application sessions.
Q: Where should I position my makeup vanity in a room?
A: Ideally, position your vanity against a wall rather than directly opposite a window. Placing it opposite a window can cause strong backlighting, creating shadows on your face and making makeup application difficult. A wall allows you to have full control over your artificial lighting, which is more consistent. If a wall isn't possible, ensure your vanity lights are strong enough to counteract any natural light issues.
Q: Can I add lights to an existing mirror or vanity I already own?
A: Absolutely! This is a very popular and often cost-effective way to upgrade. There are many DIY-friendly solutions available, such as stick-on LED strip light kits designed for mirrors, or attachable Hollywood-style LED bulb kits that adhere directly to your mirror frame. You can also purchase a separate lighted mirror to place on your existing vanity table.
Q: How often should I clean my vanity lights and mirror?
A: To maintain optimal light quality and a pristine appearance, aim to clean your mirror surface at least once a week, or more often if it gets dusty or smudged. Use a microfibre cloth and glass cleaner for a streak-free shine. For the light bulbs or LED strips, gently wipe them with a dry or slightly damp (not wet) microfibre cloth every few weeks to remove dust, which can dim their output.
Final Checklist for Makeup Vanity With Lights
Before you declare your makeup vanity with lights complete, take a moment to review this checklist. Ensuring every detail is covered will help you enjoy a perfectly lit, organised, and functional beauty space every single day.
- Vanity table assembled securely and is stable?
- Mirror firmly in place and at the correct height?
- Lighting chosen with appropriate colour temperature (5000K-6000K daylight white) and a high CRI (90+)?
- Lights installed for even, shadow-free illumination across your entire face?
- All electrical connections for lights and tools are safe, tidy, and out of the way?
- Makeup and beauty tools organised and easily accessible within the vanity?
- Vanity surface and mirror are clean and free from clutter?
- Lighting tested at different brightness levels to ensure versatility and comfort?
- Comfortable, ideally adjustable, seating is available?
- Cables and wires managed neatly to prevent tangles and tripping hazards?
- Space feels inviting, functional, and aligns with your personal style?
With these steps complete, you’re now ready to enjoy your beautifully lit makeup vanity. Get ready to experience a significant upgrade to your daily beauty routine, ensuring every application is precise, effortless, and perfectly illuminated!